Teyui Okura, a multi-creator who is a stage actress, narrator, Japanese dancer, culinary expert, designer, and has served as an Adobe© evangelist for many years, explains the basics of using HHKB Studio's "keymap change function". She will share her ideas and tips for your to to use as a reference when customising HHKB Studio.
The notation of keys in the article is based on the Japanese version of the HHKB Studio Printed keytop as an example, however, similar customisations can be achieved with the US layout keyboard sold in EMEA. You can download the keymap change tool here.

① Assign the second "⌘" to "Fn1"
② Assign screenshot to the "Convert" key and complete the task with one button
③ Assign "Shift + ⌘ + Space" to "half/full" key to support Adobe apps
④ Replace "Shift" on the right with "Delete" to make typing smoother
⑤ Replace "Shift+Opt+⌘+B/F" with "Fn1+↑" and "Fn1+↓" for PowerPoint
⑥ Assign sliding left and right on the left front gesture pad to "Undo/Redo"
⑦ Assign sliding top and bottom on the left side gesture pad to screen zoom
⑧ Assign sliding top and bottom on the left side gesture pad to change the size of the tool
One of the charms of HHKB Studio is that you can change key assignments and gesture pad functions with the "keymap change function". I myself started using this feature as soon as I got HHKB Studio (Japanese layout), and am gradually customising it to my own keyboard. Here, we will specifically introduce the aims and effects of some of the changes for your reference.
However, there is no need to change anything just because you have the keymap change function. Customisation is just a means to an end, so I think it's better not to think about "customising" too much. Rather, if you find yourself thinking, "I wish it were like this" while you're working, then it's a good idea to change it.
Having said that, if you then feel that it's a little too different, you can just change it back to the original. It's very easy to change the keymap in HHKB Studio, so we recommend having fun and repeating the trial and error process.
HHKB Studio can save 4 Profiles on the main unit. By default, Profile 1 is for Windows and Profile 2 is for Mac, so I'm currently customising Profiles 1 and 2 based on the default OS. In particular, since I often use a Mac for daily work, I use Profile 2 as my main tool for general work, customising it for general use so that it can be used with any app.
On the other hand, Profile 1 is customised so that the Mac shortcut keys and finger positions are consistent when using Windows (for example, assigning the "Win/⌘" key to the "Control" key when using Windows). By doing so, the shortcut keys will have the same finger position no matter which PC you use, and your brain will not be confused. By using the keymap change tool, you can make it even more user-friendly based on the arrangement that you are accustomed to.
Profile 3 also changes the keymap for Adobe apps. This customisation is specifically for creative work such as design done on a Mac.
In this way, I create three profiles and use them depending on the purpose. In here, we will introduce 8 customisation items from Profile 2 and Profile 3 that are distinctive and can be applied by everyone. All of these are based on the assumption that I will be using HHKB Studio in combination with my main PC, a MacBook.
① Assign the second “⌘” to “Fn1”
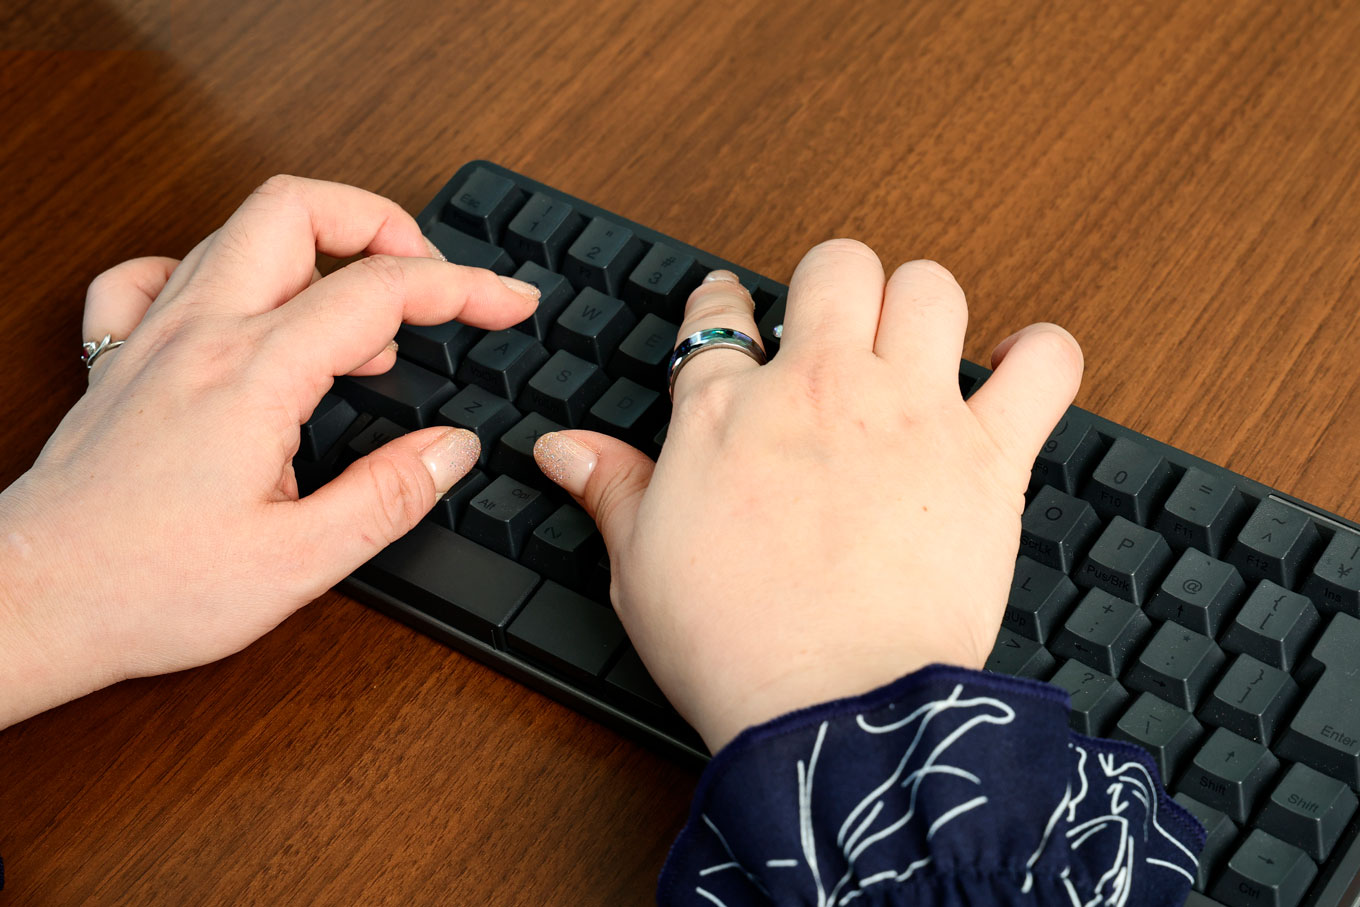
① to ⑦ are customisations in Profile 2 (for general work on Mac). First, I changed "Fn1" on the left side to "⌘" on Mac. It's the second "⌘" key. By doing this, you will be able to press "⌘" with your little finger and ring finger when pressing "⌘+Z" (to cancel an operation). In my case, I find it easier to press that than using the "⌘" button below. In this way, if you have a shortcut that you would like to press more easily, you can customise it smoothly by deciding which keys to assign accordingly.
② Assign the screenshot to the “Convert” key and complete with one press
This is a customisation that allows you to take frequently used screenshots with a single key. The shortcut for taking a screenshot on Mac is to press three keys including numbers at the same time: "Shift + ⌘ + 3" and "Shift + ⌘ + 4". Since I had to use both hands, I wanted to make it even easier, so I assigned the shortcut "Shift + ⌘ + 4", which allows you to specify a range and capture a part of the screen, to the "Convert" key.
I think screenshots are often used by writers and researchers who write while researching something. It would be convenient if you could do it by just pressing one button.
The default shortcut for screenshot is "Shift+⌘+4". With this, it's difficult to press three keys with one hand, so you would have to use both hands.
After customising it, you now only need to press the "Convert" key once to take a screenshot.
③ Assign "Shift + ⌘ + Space" to "half/full" key to support Adobe apps
"Shift + ⌘ + Space" is a shortcut to change the percentage of the screen display. By pressing these three buttons while using an Adobe app, you can change the display size by enlarging a specific area in InDesign, or by scrubbing the mouse to the right to enlarge and to the left to reduce in Illustrator or Photoshop. Up until now, I've been pressing 3 without really thinking about it, but I've assigned it to "Half/Full", which I don't often use, so I can do it with one press.
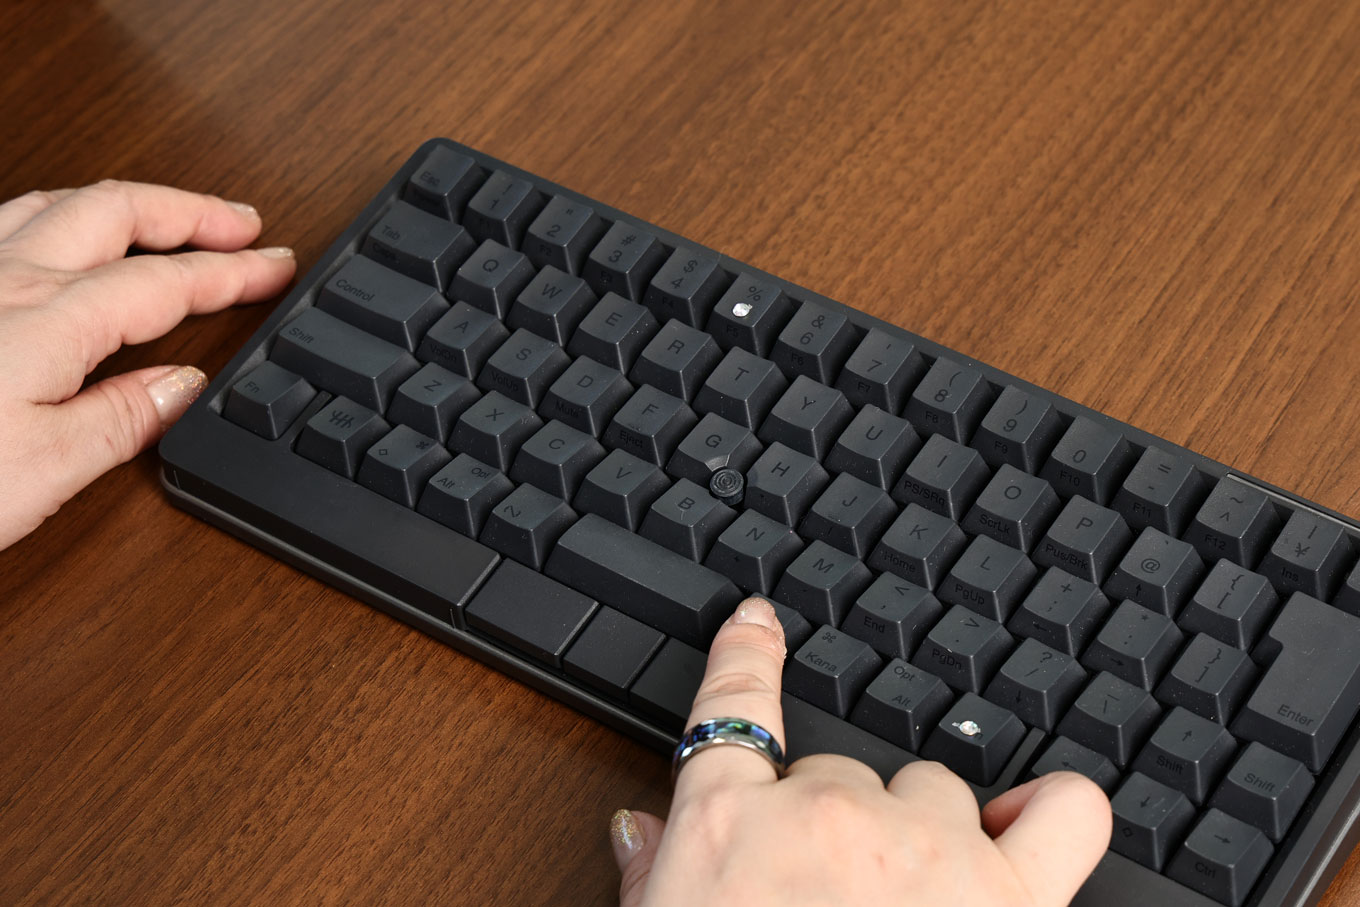
In my case, I don't use a mouse, but use the trackpad on my Mac keyboard, and the pointing stick in HHKB Studio to move left and right. By using the pointing stick, you can zoom in and out, check or make fine adjustments, and press "⌘ + 0" to return to the full view to check, all without having to move your finger up and down and saving energy.
"Shift+⌘+Space" is the default. This requires the use of three fingers from your left hand to press the keys and the use of the pointing stick to zoom in and out. By reducing the number of keys you press with your left hand to "half/full", you can work more efficiently.
④ Replace "Shift" on the right with "Delete" to make text input smoother. I don't often use "Shift" on the right, so I replaced it with "Delete". If you have "Delete", you can erase the back part by just pressing with your little finger without moving the cursor, so it's convenient. I think typing would be smoother by using "Delete" properly.
⑤ Replace "Shift+Opt+⌘+B/F" with "Fn1+↑" and "Fn1+↓" for PowerPoint.
Originally, I used Adobe InDesign to create slides for presentations, but recently I am often asked for the original data, so I have been using Microsoft PowerPoint more often. I often design slides by putting the placed image in front of the text or retracting it behind the text, but PowerPoint's shortcuts are "Shift + Opt + ⌘ + B" (for back) and "Shift + Opt + ⌘ + F" (for front). I had a hard time remembering it (lol), and I was often confused.
Therefore, I decided to assign these shortcuts to "↑" and "↓". Both also work by pressing the "Fn" key at the same time. The "↑" pointing up is the back, and the "↓" pointing down is the front. These arrow keys are close to "Fn1" on the right side, and it's also important that they are easy to press at the same time.
⑥ Assign sliding left and right on the left front gesture pad to "Undo/Redo"
You can also customise the gesture pad instead of the keys. First, I assigned sliding left and right on the left front gesture pad, which has arrow functions by default, to "Undo" and "Redo", which are repeated quite often during work. Due to the characteristics of the gesture pad, we thought this would be more intuitive to use.
The results are excellent. Depending on the speed, you may get too much feedback, but once you get used to it, you will be able to move it smoothly. When you want to go back a little bit, it's quicker to access the gesture pads than pressing the "⌘ + Z" shortcut, so it's useful.
⑦ Assign sliding top and bottom on the left side gesture pad to screen zoom
Zoom functions are assigned to the left gesture pad by sliding top and bottom which is is very convenient when you have to type something late at night.
I'm customising the accessibility shortcut for the zoom function on my Mac. To zoom in/out with the default shortcuts, you have to use "Shift + ⌘ + ^" (zoom in) / "Shift + ⌘ + -" (zoom out) using both hands, but when I use it as a seminar lecturer, I want to do it with one hand. Because of this, I use the Mac keyboard set to "Opt+1" (enlarge)/"Opt+2" (reduce). To do the same thing in HHKB Studio, instead of using the two "Opts" that are a little further apart than the Mac's keyboard, I assigned them to the left gesture pad.
Of course, you could assign it to a key other than "Opt" but I didn't do that to avoid a situation where the keys in HHKB Studio and the keys on the Mac keyboard are different. As a result, I assigning it to the gesture pad so that it doesn't affect seminars that don't use HHKB Studio, it is now possible to zoom in and out smoothly.
Gesture pads are also intuitive and suitable for zoom functionality. HHKB Studio is convenient because it can flexibly support keyboard shortcuts customised by the OS.
⑧ Assign sliding top and bottom on the left side gesture pad to change the size of the tool
⑧ Assign sliding top and bottom on the left side gesture pad to change the size of the tool is an example of customisation set to Profile 3, which assigns sliding top and bottom of the left gesture pad to change the brush size in order to increase efficiency when working on designs with Adobe apps. Several Adobe apps share the same shortcuts for changing the size of the brush tool, eraser tool, copy stamp tool, spot correction brush tool (*), etc., so you can assign the size adjustment for each tool to the gesture pad. This will allow you to smoothly resize with any tool.
Adobe Photoshop: Healing Brush, Copy Stamp, Dodge, Burn, Scratch, History Brush, Blur, Sharpen / Adobe Illustrator: Brush Brush, Symbol Spray, etc. There are many others.
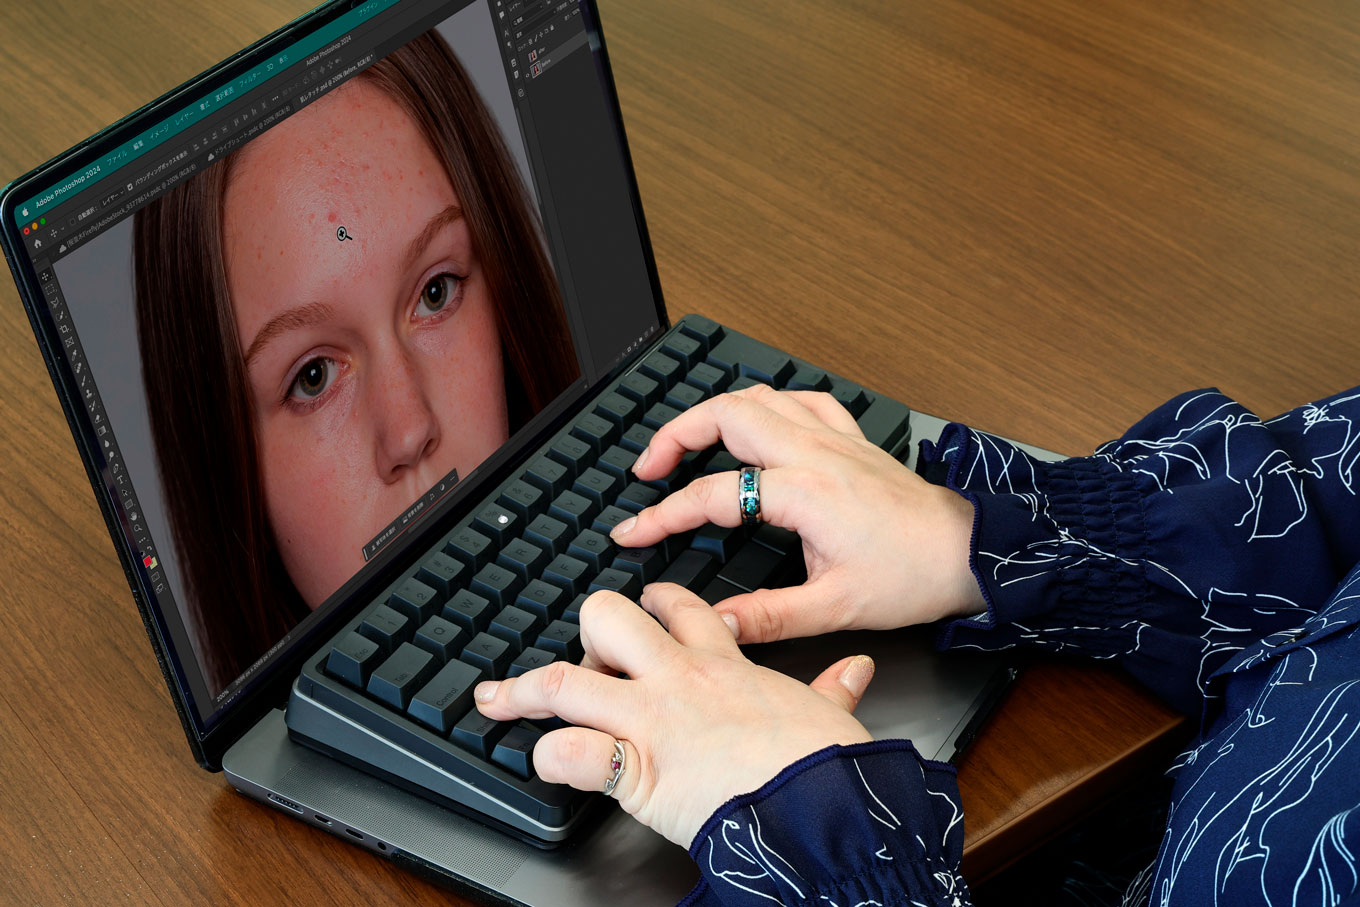
By assigning the brush size change function to the gesture pad, you can smoothly change the brush size with your left hand while holding the tablet pen in your right hand.
By default, you have to keep hitting "]" or "[" until you get the optimal size. In my case, I use a pen tablet for detailed retouching work, so I end up hitting the keys repeatedly with my right hand holding the pen. However, if you can change the size using the gesture pad on the left side, you can operate it with your left hand while keeping your right hand on the pen tablet. Additionally, when you try to press a key with your right hand, your eyes have to move each time to check the position, so it's easier to use a gesture pad when making repeated fine adjustments, as it reduces the stress on your eyes.
If I reproduce the previous scenario without the HHKB Studio, I would have to move my right hand holding the pen to the keyboard and hit the keys repeatedly.
By using the gesture pad, you can zoom the screen and change the size of tools as if they were part of your body, without requiring your brain to do any extra processing. In my case, I was able to use my left hand to operate the zoom while my right hand was on the pen tablet or keyboard, and my productivity increased tremendously. I feel that it is completely different.
Additionally, if you are retouching small images such as those for web pages, or if the corrections are simple, you can use a pointing stick instead of a pen tablet. You can work with both hands on HHKB Studio, making it more efficient.
Specify the correction area with the pointing stick on your right hand, and change the brush size with the gesture pad on your left hand. It doesn't require much hand movement and is very efficient.
In this way, I customise products with my top priorities in mind. Please feel free to try it out whenever you have an idea or feel like doing so.
| Customisation list introduced in this article | Key before change (based on the engraving on the main body) | Change details | Use |
| 1 | (Left) Fn1 | ⌘ | Prevents pressing the wrong Command |
| 2 | 変換 | Shift + ⌘ + 4 | Screenshot |
| 3 | (half/full key) | Shift + ⌘ + Space | Change screen display percentage |
| 4 | (Right) Shift | Delete | Easy operation with your little finger |
|
5
|
(Hold down Fn1) ↑/↓
|
Shift + Opt(Alt)+ ⌘ + B | Send an object to the back |
| Shift + Opt(Alt)+ ⌘ + F | Send an object to the front | ||
|
6
|
Left front gesture pad - slide left and right
|
⌘ + Z | Undo |
| ⌘ + Shift + Z | Redo | ||
|
7
|
Left side gesture pad - slide up and down | Opt(Alt)+ 1 | Screen zoom enlargement |
| (set to Profile 2) | Opt(Alt)+ 2 | Screen zoom reduction *Mac accessibility settings will be changed separately. |
|
|
8
|
Left side gesture pad - slide up and down | ] | Increase brush size etc. |
| (set to Profile 3) | [ | Decrease brush size etc |
Profiles can be switched by holding down the [Fn] key and pressing the [C] key, then pressing the number key for the profile number you want to use. Please check the manual for details.
*Please note that she is using the Japanese layout, so you may find references that don't apply to the US layout.
Trademarks
Adobe, InDesign, Photoshop, and Illustrator are registered trademarks or trademarks of Adobe, Inc. in the United States and other countries.
Apple, the Apple logo, Mac, Mac OS, Mac OS X, OS X, macOS, iPhoto, iPad, iPadOS, iPod touch, and iTunes are trademarks of Apple Inc.
HappyHacking and HHKB are registered trademarks of PFU Co., Ltd. in Japan.
Microsoft, Windows, Windows Vista, and Windows Server are registered trademarks or trademarks of Microsoft Corporation in the United States and other countries.
Other proper names such as products mentioned are trademarks or registered trademarks of each company.